Honey Fried Chicken

I have never attempted to make pan fried chicken. I guess the thought of trying to mix the proper breading and then cooking it in oil made me nervous. But last night I decided to give it a go. Unfortunately I realized I didn’t have all of the ingredients I needed so after consulting google, I winged it. The recipe I was looking at was this one for Double Crunch Honey Garlic Pork Chops found here. Again, as I said, I was missing a bunch of the ingredients so I changed things up a little.

I started with the sauce. In a pan I put:

  • 2 T olive oil
  • 1T garlic powder
  • 1/2 cup honey
  • 1/4 cup soy sauce
  • 1 t ground black pepper

The recipe called for a whole cup of honey, but we only had a half a cup. It also called for minced garlic but ours had just been tossed so I went with garlic powder. I put them all in a small sauce pan and put it on a burner just below medium and let it warm up. After about 5 minuted I put it on low to simmer until the chicken was half way done. Then I removed it from the stove to cool down as the instructions indicated. It also mentions to pay close attention because it can foam over very easily. I caught mine just in time 🙂

Once that was simmering I started on the breading for the chicken. Since I didn’t have most of what the original recipe called for, I googled “pan fried chicken” and took what I liked best from a couple recipes. I was making three rather large chicken breasts.

  • 6 T all purpose flour
  • 1.5 t salt
  • 1 t ground black pepper
  • 1/2 T herbs de provence (Because that’s the closest I could get to the recipe. Ours had marjoram, thyme, rosemary, savory, oregano and basil)
  • 1/2 t chili powder

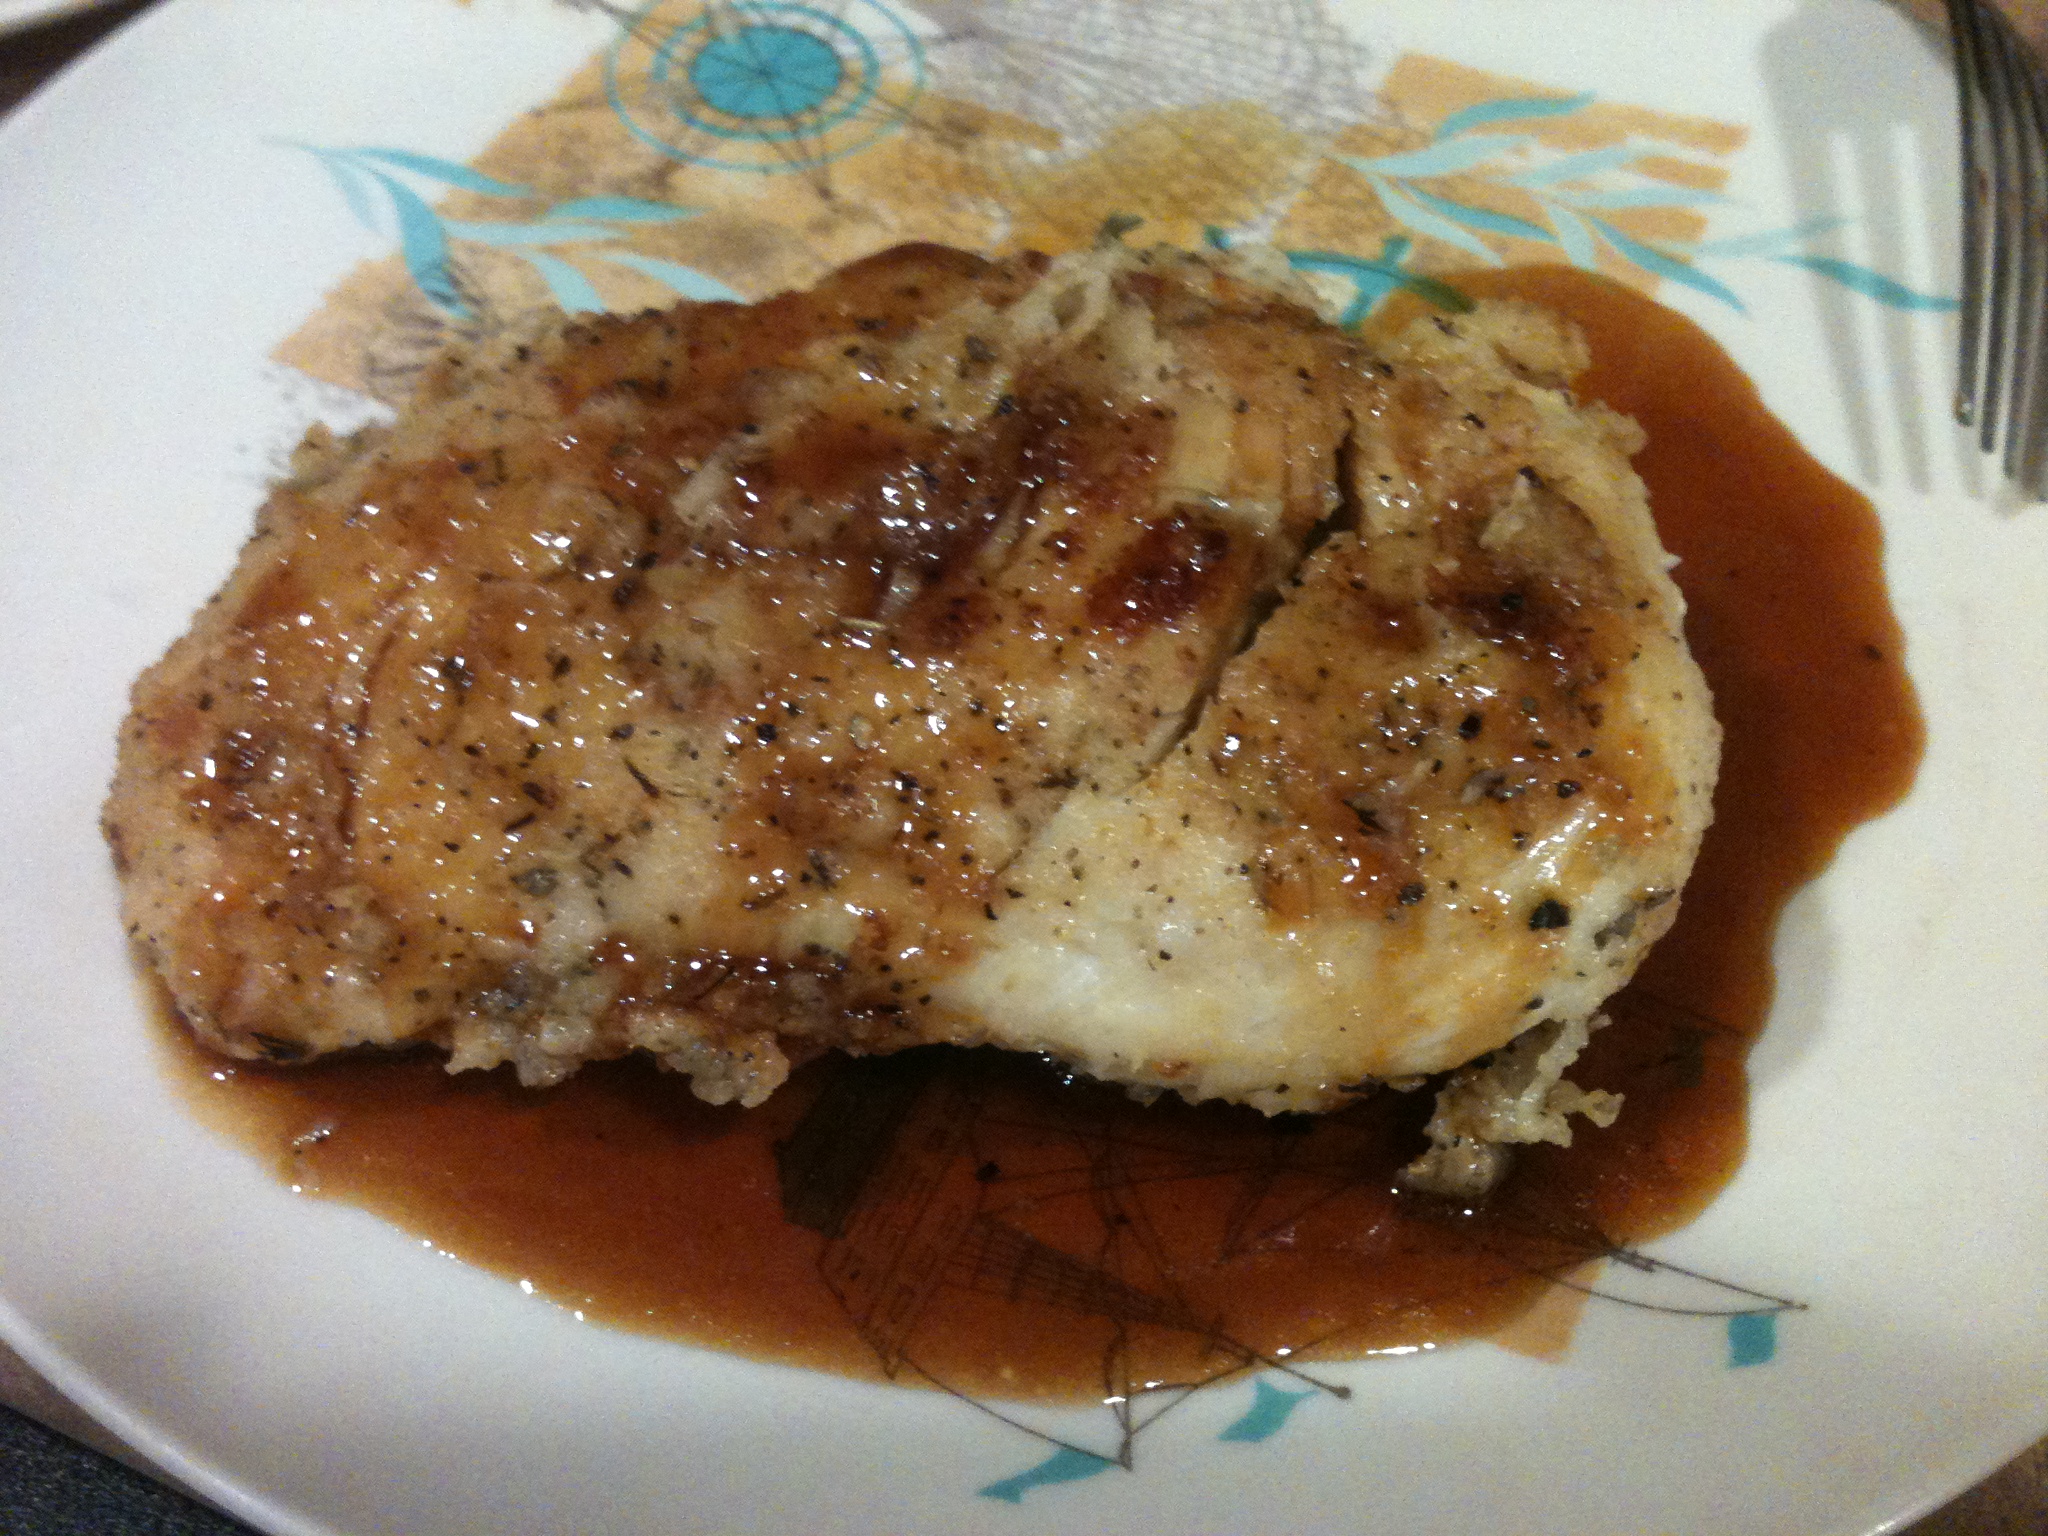
I mixed all of the dried ingredients in a bowl. I may have added some more herbs until it looked good. Since I didn’t have the right ingredients I sort of eyeballed it on the herbs and chili powder. While I mixed this I had some canola oil heating up on the stove. I placed a splash in the bottom of a skillet, enough to cover the pan. Then I placed it on just below medium heat to warm up. Once the oil was ready I dipped the chicken in milk and then dredged it through the flour mixture. I pan fried the chicken about 10 minutes on each side. Just keep an eye that they don’t get too brown. Since my chicken was super thick, I had to finish them in the microwave to cook them all the way through. So make sure your chicken is pretty thin. Once the chicken was cooked, plate it and top with the honey sauce. I was so pleased with how this turned out! I guess pan fried chicken isn’t as intimidating as I thought.

Image

Spinach Artichoke Quinoa

This week I made quinoa for the first time. I have to admit, I didn’t really care for it. I also have to admit, the only thing I put in it was some minced garlic so I could use it for a rice substitute. Who knew, though, that one cup of dried quinoa produces close to four cups prepared? What to do with all of this? Some time ago I had made this recipe for cheesy, spinach, artichoke pasta. Why not try it with quinoa? (I steamed some fresh spinach the first time I made it).

All you need is 1 package (9oz) of creamed spinach, one can of artichoke hearts (I chopped them with the slap chop to make them easier to mix in), 1/4 c Parmesan cheese, and one bag (2c) shredded mozzarella. And, of course, the quinoa. I just used what I had left over.

Prepare 1 cup (dried) quinoa according to the directions. Then mix in the creamed spinach (thawed), artichokes, Parmesan cheese, and 1 cup of the mozzarella. Place in a 2 quart, broiler safe dish. Top with the remaining mozzarella. Since my quinoa was cold I baked it at 350 for 20 minutes. Then turn on the broiler to brown it just a bit (2-5 minutes). If yours is still warm, you can just skip to the broiling 🙂 This is how it looked, not my prettiest picture, but it certainly tasted better than plain:

Image

Baby Mobile

One of my very best friends is having a baby. I really dislike buying gifts off of registries. I know people put stuff on a registry because they need it, but when I’m really close to someone, I want to give a more personal gift. Since this is the first really important baby in my life, I wanted to do something extra special. I got the idea when I saw  this DIY chandelier on pinterest. I decided I would make the baby a mobile of stars with wishes from family and friends. I looked around the web for star mobiles that I liked. There were several from this seller on Etsy. I decided to try to make my own.

The first thing I needed was a star punch. After visiting Michael’s and AC Moore, I couldn’t find one big enough for writing. So I ordered this one from Amazon. After visiting a hardware store for some paint chips, I started punching. I couldn’t decide on one color, so I did two color sets. My friend is not finding out the gender of the baby until it’s born so I went with a gender neutral yellow and teal tones. The baby’s room is yellow and sea foam so it will match well.

DSC_0666

The stars fade from bold to gold and silver

The bottom star for each color is from Martha Stewart’s new metallic paint collection. I purchased a groupon for Vista Print ($17 for $70) to order the invitations for the shower. While I was ordering the invites, I also had these cards printed to mail the stars to family members. On the back was instructions to write a wish on the front, sign on the back, then mail them back to me. I included a self-addressed/stamped envelope to make sure they came back. I also got return address labels from Vista Print and just stuck a return address label on all of the envelopes they were mailing back to me. I taped the stars on the card, I might not do that again as a lot of them had tape residue on the back.

IMG_2167

The front of the card

When I got all of the stars back, I hot glued them onto black, sparkly yarn. I might use a clear coat on all of them first, next time. I might also use a stronger craft glue so they stick together better. I also left the bottom stars blank because the metallic paint was hard to write on. I also left some black stars in case I missed some people.

IMG_2438

The stars drying and the hoop I used to make the mobile

Once the stars were all dry, I laid them around a 10 inch embroidery hoop. Next time I might only use the inside of the hoop because I didn’t know how to cover the screw on the outside  hoop. Using both hoops, though, make everything a little more stable.

IMG_2574

Charlie helping lay out the stars

Once all of the pieces of yarn were tied to the hoop, I wrapped the entire thing in more yarn to cover up the knots. I also added four pieces that I tied to a ring for hanging. I was very pleased with the result.

DSC_0105

The final product

I didn’t tell anyone what I was doing when I mailed out the stars. Everyone was super excited to see what they had turned into when she opened the mobile at the shower today. It was passed around so everyone could see what others had written. My favorite were “Gumption” and “Wonder”. I chose to write “I wish you Enough” from this story. In case you haven’t read it before, this is what they meant by “I wish you enough”:

I wish you enough sun to keep your attitude bright.
I wish you enough rain to appreciate the sun more.
I wish you enough happiness to keep your spirit alive.
I wish you enough pain so that the smallest joys in life appear much bigger.
I wish you enough gain to satisfy your wanting.
I wish you enough loss to appreciate all that you possess.
I wish enough “Hello’s” to get you through the final “Goodbye.”

I hope you enjoyed the final product as much as my friend did and hopefully you can create one for a special someone in your life.

Bacon Mushroom Chicken

Last night we tried another pinterest recipe. We had all the ingredients except bacon and fresh mushrooms (I debated using a can I had…. but I decided not to cut every corner this time). We made a bit of a mess of the kitchen. I think it would have been less of a disaster if the chicken had completely defrosted before I was ready to start cooking. So I started with some leftover garlic I had from my disastrous attempt at making salsa. I decided to make some roast garlic. Preheat the oven to 400 degrees. Peel the garlic until you can see the individual cloves. Cut off the top of the garlic bulb so the cloves are exposed. Put a little olive oil over the garlic, wrap in foil, back for 30 minutes or until the garlic is nice and soft. I bought a french loaf to eat it on.

There are a few loose cloves in there from my salsa experiment. I just threw them all into one piece of foil with some olive oil. It worked just fine. My other favorite thing to eat with crusty bread is olive oil and Parmesan cheese. Jon wanted to make it more gourmet so he added some Italian herbs from the spice rack. Always a good starter when cooking.

Once the garlic was in the oven, I started defrosting the chicken in the microwave. I should have done that earlier, but I didn’t expect it to be quite so frozen still. So I moved on to the bacon. I gave Jon that job. He did it well. We wiped out the grease and started on the onions. Jon was excited to use his new chopper on the onions… that’s fine with me as I didn’t feel like crying. I added a little butter to the pan and sauteed the onions for a few minutes before adding the pre-sliced mushrooms. While they were sauteing, I took the chicken out of the microwave and seasoned it with a pepper medley and sea salt from the little grinder. I browned the chicken breasts in a separate pan so we could keep going on the veggies.

To the veggies I added some salt and pepper, the same as what I put on the chicken. Then I added the wine and cream of mushroom soup. As we stirred that in, Jon added 2/3 cup of shredded cheese. We had artisan mexican cheese left over from the enchiladas on Friday so we just used that. Jon got to bust out the chopper again and chopped up 4 pieces of bacon to add to the mix. We stirred until melty.

Then we moved the chicken into a baking pan and poured the sauce all over. By this time my garlic was done so I took it out and bumped the oven down to 350 and cooked the chicken for another 25 minutes.

While the chicken was cooking we started some spaghetti to serve it over. Since that doesn’t need any help. I melted some Ghirardelli chocolate to dip strawberries in. I ended up pouring all the chocolate over the top when I was done so we didn’t waste it. Not very pretty, but very tasty:

I had a strawberry that looked like a camel. Jon didn’t see it:

When everything was said and done, dinner turned out very well. Jon thinks this is one of the better experiments we’ve had so far.

The recipe called for an extra piece of bacon on top. I don’t think it was necessary. The food was very good and nice and hearty. This would be good for the winter. This was certainly the most complicated recipe we’ve done so far, but only because there were lots of steps. It was great having a sou chef for this one.

Going Green: Enchiladas

Last night I experimented with Enchiladas Verde. It was a success. I started with this recipe for Honey Lime Enchiladas. But being the lazy girl I am, I didn’t want to have to cook and shred chicken before getting started. So I marinaded some boneless chicken breast over night and then threw it in the crockpot. It turned out very well.

Ingredients (Serves 4)

  • 6 tablespoons honey
  • 5 tablespoons lime juice (squeezable lime)
  • 1 tablespoons chili powder
  • 1/2 teaspoon garlic powder
  • 4 frozen chicken breasts (thawed)
  • 8 tortillas
  • 2 cups shredded cheese
  • 1-2 cans green enchilada sauce

Instructions

  • In a bowl whisk the honey, lime, garlic, and chili powder. Place the thawed chicken into a gallon ziplock bag. Pour in the marinade, zip shut, and shake well. Place in the fridge overnight.
  • In the morning layer the chicken in the bottom of the crock pot and cover with the remaining marinade. Add about 1/2 the can of enchiladas verdes sauce. Cook on low for 8 hours.
  • Remove the chicken from the crock pot and use two forks to shred. Spoon the marinade from the crock pot over the shredded chicken and mix well.
  • Heat one tortilla at a time in the microwave for 15 seconds between two damp paper towels. This will make it easier to fold.
  • Spoon chicken into the center of the tortilla in a line. Top with a small spoonful of the remaining enchilada sauce. Fold in the ends of the tortilla towards the chicken.
  • Place in a greased baking pan. Repeat with remaining tortillas and chicken.
  • When all of the chicken is gone, cover the enchiladas with more enchiladas verdes sauce. Top with a heaping handful(s) of shredded cheese. We used the Artisan Mexican Cheese from Sargento.
  • Place in a preheated over at 350 for 25-30 minutes or until cheese is melted.

I was so excited to eat them that I forgot to take pictures, but they were amazing. And again, super easy in the crock pot. If you want a printable version, you can find that here.

What the French Toast?

Who doesn’t love French Toast? I found a great French Toast recipe on Pinterest the other day and decided to try it out. I missed the part about needing to put it in the fridge for an hour to overnight before baking it. So we made it, then decided to do some P90X Yoga while it chilled in the fridge. I really have no desire to do all of the P90X program but the yoga was a great workout.

But back to the French Toast. We ended up having to go to the grocery three times because we kept forgetting things, so make sure you have your grocery list together. Things you need: A loaf of french bread, bananas, eggs, milk, cream, cinnamon, sugar, brown sugar, vanilla, and powdered sugar (we had to run to walmart for this at 10pm because we forgot it!). And stick butter. I can’t convince Jon that cooking with stick butter is so much easier than trying to measure it out of the tub… but it’s true.

1 small loaf french bread
1 or 2 bananas
3/4 c heavy cream
1/2 c milk
1/4 c sugar
1 T cinnamon
1 t vanilla
4 eggs
6 T light brown sugar
1 t butter
Powdered sugar
Maple syrup

The recipe called for ramekins, but since I was cooking in a man-cave, there weren’t any. So we improvised with a baking pan. Spray it with some Pam so the French Toast comes out alright.

Cut the bread into slices about 1/2 inch thick. I had a hard time with this since I can’t even draw a straight line, let a lone cut a slice of bread. Harris Teeter will actually use their slicer if you buy your bread from their bakery. We may have to do that next time.

Mix together the eggs, cream, regular sugar, milk, cinnamon, and vanilla. Then drag your pieces of bread through the mix and place upright in the pan.

Cut up your bananas and dip into the same mix. Then dip in the brown sugar. Stuff the bananas between each slice. I think I put about 5 pieces between each one. I couldn’t get the bread to stay upright so we grabbed some kebab skewers to hold everything together.

When you can't get your French Toast to sit still, use some skewers

Once it’s chilled, mix the rest of the brown sugar with the butter and top the bread.

Preheat the oven to 350 and bake for 30-35 minutes.

When it’s ready, top with powered sugar and syrup, if desired. It thought it was great with just the powdered sugar.

The finished product

When we started eating it, a couple pieces were a little soggy in the middle. Since I like my French Toast a little crunchier, I think I might lay them out flat on a baking pan and then top them with bananas so the pieces are evenly cooked. The brown sugar topping was lovely so that is a must. The original recipe can be found here. Definitely worth making again, especially for company. They are very rich, though, so you may not be able to eat more than two pieces. Enjoy!

For a printable version, click here.

Nutella Cheesecake

For the luncheon last month I decided to do the nutella cheesecake recipe I found on Pinterest. It called for making your own crust among other things. As I’m not one for making anything from scratch I went on a hunt for an Oreo pie crust. It was not easy. I ended up settling for a chocolate crust. Nutella was much easier to find as that has become very popular. So for this recipe you need one chocolate pie crust, 1 package cream cheese (softened), 2/3c nutella (after tasting it, I’d bump it up to a whole cup of nutella, you can’t go wrong with too much nutella), 1 teaspoon vanilla, 1 tub cool whip (thawed). The recipe said to mix cream cheese and nutella, add vanilla, and then gently fold in the cool whip. Since I didn’t read the instructions all the way through, I just threw everything in the bowl together and went to town with the electric mixer. It turned out just fine. Then pour it all into the crust and use a rubber spatula to make pretty shapes on top. I thought it looked unfinished so I put some extra nutella and chocolate sprinkles on top. To do this, put a little extra nutella in a zip-lock bag and squish it down to one corner. Snip off a tiny piece of the corner and you have a make-shift decorating bag. A bonus fact: Zip-lock bags are now recyclable: Recycle Ziplock bags. Cover your pie and let it chill in the fridge for 2 hours to over night. Enjoy!

I accidentally broke the crust when a dropped a spoon in it. Be gentle.

One of these days I’ll quit taking pictures of food on my phone and use my real camera.
Nutella Cheesecake
1 chocolate pie crust
1 package cream cheese (softened)
1c nutella
1 teaspoon vanilla,
1 tub cool whip (thawed)
Sprinkles (optional)
Throw everything but the crust and sprinkles in a bowl and mix with electric mixer. Pour into crust and top with sprinkles and more nutella. Chill for two hours or over night. Serve and enjoy!
Click here for a printable version.

$lutty Brownies

Tonight we went out to eat but we still wanted to experiment with desserts. I had left my pinterest up on the computer so there was a request for $lutty Brownies tonight. They are just as simple as everything else I’ve made off of pinterest so far. All you need is a box of cookie mix (I didn’t even know chocolate chip cookies could come out of a box… this may lead to more cookies in the future), a box of brownie mix, and double stuffed oreos (I debated getting the new fudgy ones that are covered in chocolate. If you try that, you’ll have to let me know how it goes).

Mix the cookie dough but add a table spoon extra oil since you’re going to bake it a bit longer that normal. Take a nine by nine pan and cover it with waxed paper. Pour the cookie down and flatten it into the bottom of the pan. Next cover the cookie dough with a layer of oreos. Then mix up the brownies and pour over the top. No need to add anything extra to the brownie mix. Pre-heat the oven to 350 and bake for 30ish minutes or until the brownies are mostly done. You want them to still be a little gooey. Then let cool for a few before lifting out of the pan with the waxed paper and then bite into manageable chunks. I would recommend topping with ice cream and chocolate syrup. Enjoy! Oh, and you will need a large glass of milk. Also, a little goes a long way here so start with a small serving. I gave in to temptation and filled my bowl and couldn’t make it through it all. Yum.

Fresh out of the oven

Ingredients:

Cookie Dough Mix (plus eggs, oil, etc, whatever that recipe calls for)

Double Stuffed Oreos

Brownie Mix (plus eggs, oil, etc, whatever that recipe calls for)

Wax paper

9×9 pan

Mix the cookie dough according to directions plus 1T oil or water to keep it moist. Pour in lined pan.

Layer with double stuffed oreos

Mix the brownie mix according to directions. Pour over oreos.

Bake for 30 at 350.

What they look like out of the pan

Resist the temptation to overload your bowl... There will be more than enough to go around

This recipe came from The Londoner

One minute egg sandwich

When it comes to breakfast, I like simple, easy, and not too heavy (at least first thing in the morning). I have a bad habit of eating out, and you know those breakfast sandwiches are not low in fat. One of the best compromises I’ve found is to make my own breakfast sandwich. I do this at work in the mornings so it can be done anywhere. What you need is a mug, a toaster, a microwave, one egg, a little milk, a slice of cheese (or not), and some bread (lately I’ve been using the bagel-thins at only 100 cal each).

Crack one egg into a microwave safe mug. Throw in a splash of milk and whisk with a fork. Cover with a paper towel and microwave for one minute. While your egg is cooking, throw your bread in the toaster (or not). If you’re feeling particularly spunky, you can get some of the pre-cooked bacon and microwave a piece or two. When your egg and toast are ready (I try to start my toast first so they’re done about the same time), throw a piece of cheese (and/or bacon) on the bagel. Take your fork and run it around the inside of the mug to loosen the egg. Then turn the mug over onto the bagel. You should have a nice round egg to fit on your sandwich. Enjoy! Breakfast is the most important meal of the day and one this easy and tastey is easy to fit into your schedule. You can always add spinach or other odds and ends to mix things up.

egg sandwich

All it takes is a minute to have a hot breakfast

One Minute Egg Sandwich

1 egg

1 slice of cheese

1 bagel-thin

1 splash of milk

Mix egg and milk in a coffee mug. Cover with a paper towel and microwave for 1 minute (time may vary, we have an industrial microwave at work, so you’ll have to figure out what works best for you). Toast a bread product. Put a slice of cheese (and  a piece of pre cooked bacon if you’re feeling sassy) on the bagel and top with the egg. Cut and enjoy!

Even I can make chocolate covered strawberries

For my first post, I wanted to start with something simple. February is almost over and we don’t have to worry about Valentine’s Day for another year. Valentine’s Day is a holiday dedicated to chocolate. We were walking around the mall just before VDay and wanted to splurge on some chocolate covered strawberries. We were in for a surprise. Who would pay $3 a strawberry when you could buy a whole carton for less than that? Luckily, I had a trick up my sleeve. DIY Chocolate Covered Strawberries. These are so simple, even I can’t mess them up. What you need:
Wax Paper
Carton of Strawberries
Crisco
Chocolate Chips
Baking Pan
Microwavable bowl

In the microwavable bowl add a bag of chocolate chips and two Tablespoons crisco. Microwave on half power for 30 seconds at a time, stirring in between. You want the chocolate melted, not hot.

Rinse your strawberries and make sure they are well dried. I used a paper towel to dry each one before dipping it into the chocolate.

Hold your strawberry by the stem and run through the chocolate. Place on a baking pan covered with wax paper. Repeat. Place the pan of strawberries in the refrigerator (not freezer) until chilled. Enjoy!

This is not one of my better shots. We cut off the stems on these and then poured the leftover chocolate over the top of them. It’s not as pretty but you definitely get in more chocolate! If you want to get super creative, melt white chocolate chips and then pour them into a ziplock bag. Snip off the corner of the bag and use it to decorate your strawberries. You should never pay $3 a pop for chocolate covered strawberries again!

Chocolate Covered Strawberries